Model building
Christmas crib

www.e-rokodelnica.si
 Model building | Christmas crib |  www.e-rokodelnica.si |
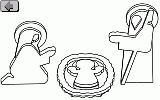
People prepare on upcoming holiday season. To prepare for the celebration of Christmas Day, a crib could be made (besides shopping). The crib is a scene that shows the moment of arrival of God to the world. On this page you can find patterns of figures that are cut out of plywood.
| 
| 
|
It is not allowed to use this document or part of it for commercial purposes. The exception is teachers who may use it at their own classes.
 |
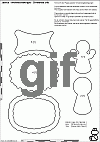
We cut parts of the figures out of 4 mm thick plywood first. We find patterns of the parts in files that are pointed at by links in figure 1. We print the drawings and transfer them to the plywood. A procedure is described in greater detail in the page Transferring Shapes of Parts to Plywood.
  |
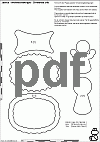  |
Figure 1: Parts of the Figures
In the drawings, each pattern is drawn only once. It is written in brackets, how many parts of each pattern we need to cut out. Most of them are cut out only once. Only the support 10 and halo 11 have to be cut out twice. All the patterns are copied on the plywood board then.
We cut all parts out of plywood as precisely as possible. We can find some tips to help us sawing in the page Using of a Fretsaw.
Finally, we sand the parts to remove cutting marks.
 |
When we have prepared all the parts, we start gluing. Parts 1 and 2 are glued together to make the figure of Christ-child. The crib is made out of parts 3, 4 and 5 as we can see in the Figure 3. The figures of Mary and Joseph comprise parts from 6 to 11. We must take care to glue the later figures so that they are stable.
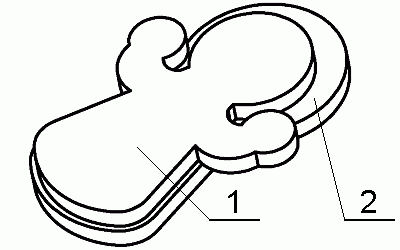
Figure 2: Figure of the Christ-child
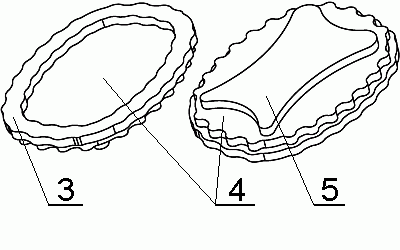
Figure 3: Crib
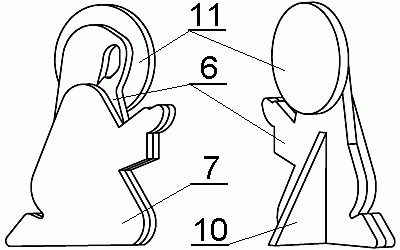
Figure 4: Figure of Mary
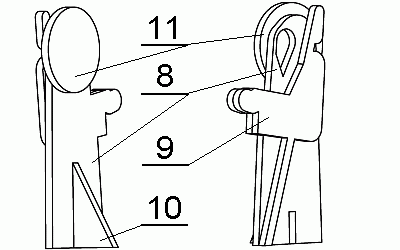
Figure 5: Figure of Joseph
Finally, we paint the figures. Now, they are ready for the Christmas Eve. And I would wish you blessed holidays.
 |